Background removal
A clean cut-out with a transparent background, in one press.
A picture in, a cut-out out.
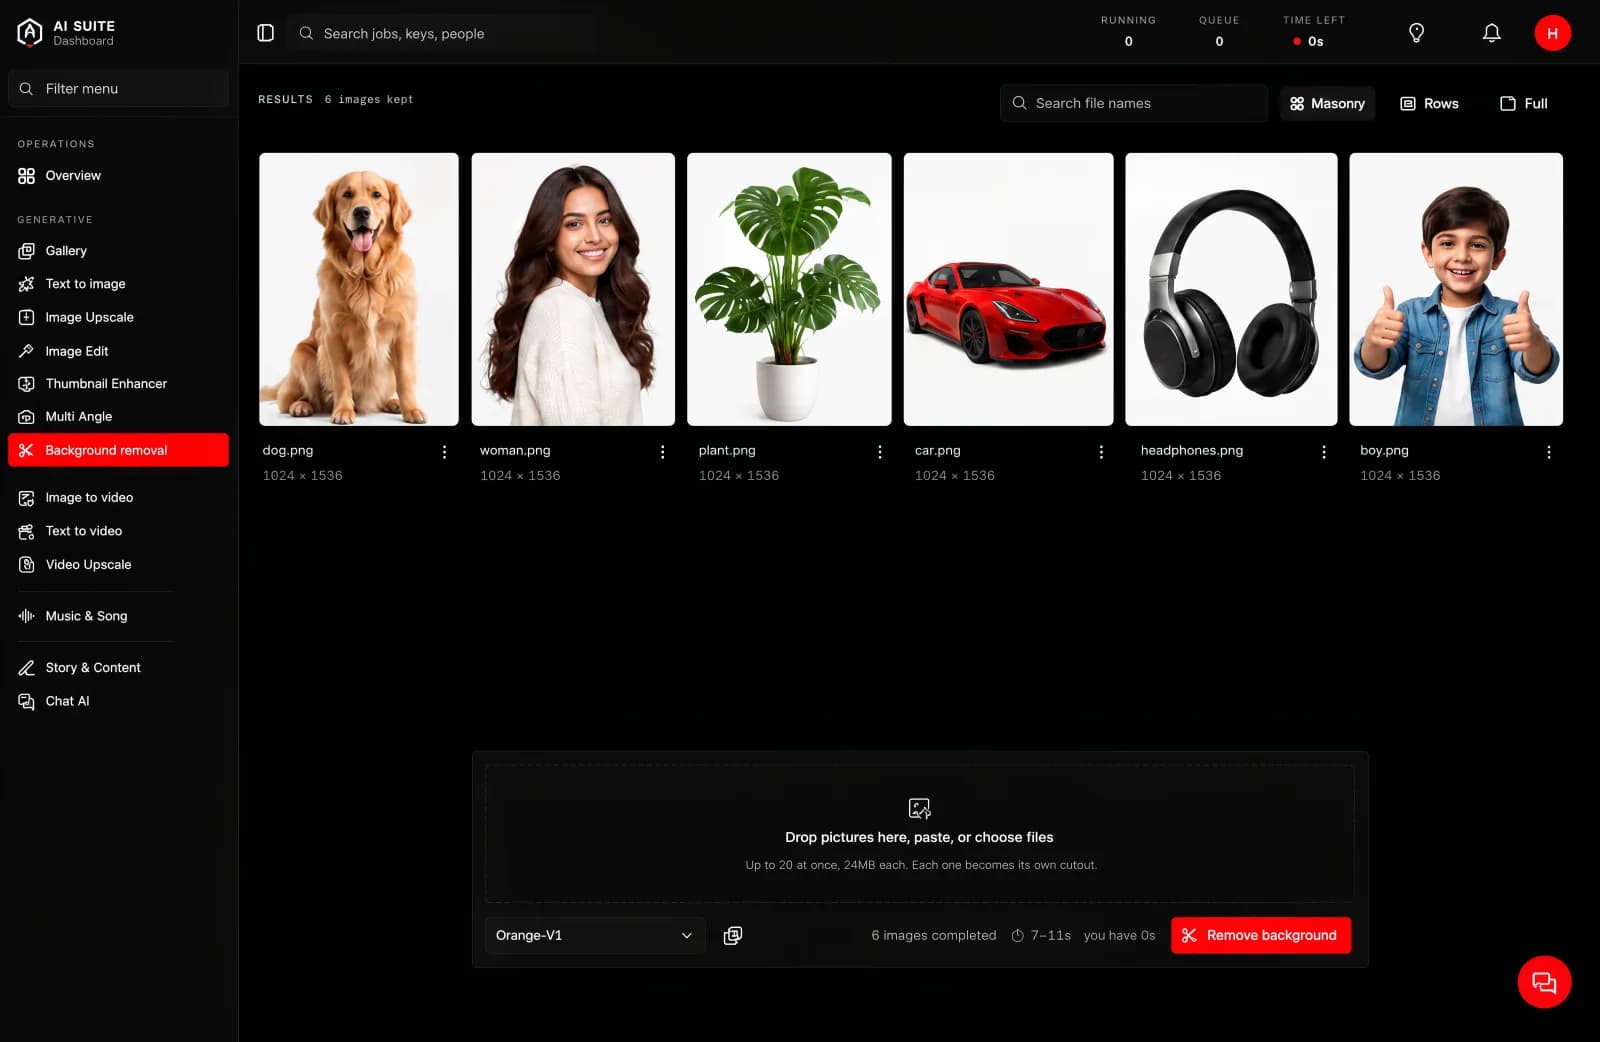
What it is for
Lifting the subject off its background so you can put it on anything else: a plain colour, a different scene, a slide, a product grid.
What you give it
Just the picture. There is nothing to configure.
What you get back
The same picture with the background gone, saved with a transparent background so it drops straight onto whatever you put it over.
The model
| Model | What it does |
|---|---|
| Orange-V1 | Finds the subject and removes everything else. |
There is nothing to configure and nothing to write. Hand it the picture.
Size, length and time
Two things decide how long a run takes, and both are yours to choose:
- A larger picture takes longer than a smaller one.
- A longer clip takes longer than a shorter one.
That is the whole rule, and it holds for every tool in the console. The button quotes you before you press, so you never have to work it out yourself. Change the size or the length and watch the estimate move.
How long it takes
This is one of the fastest things in the console. Usually a few seconds.
Good to know
- Hair, fur and glass are the hard cases for every tool that does this. Check the edges before using it somewhere prominent.
- Keep the original. If you later want a different crop or a softer edge, you want the full picture, not the cut-out.
- The result has a transparent background, which means it will look like it has a chequerboard behind it in some viewers. That is the transparency, not a fault.
Getting more out of it
A subject that is clearly separated from its background cuts out better. If you are making the source picture yourself with Text to image, ask for a plain or blurred background and the cut-out will be cleaner.